My lovely friend elfin (
who edits and writes for this blog) came over the other day to make devotional masks with us. What is a devotional mask, you ask? It is a mask that is made of and with a specific deity for the purpose of communing with them, gaining information from them, and working with them further. It can be used in a ritual context, an oracular context, or even in a trance when you are alone (with the deity). My mask is for oracular and communal work mainly, so no eye holes are needed, just nose and mouth.
The way that the process works is deceptively simple (although the materials are specific and you need assistance- you cannot do this work alone!):
1. You create a plaster mask base using quick drying plaster strips (the brand we used is called
Rigid Wrap
) on your own face. The book that we used to help with the nuts and bolts process was this one (to the left!). The book simplifies the process and materials needed so that you can concentrate on the trance work and embellishment part of the mask making process. I liked that a whole lot (as this is a craft project with a sacred purpose)!
You need to pick a specific deity with which you want to work and of which you want to make a mask. Often, they come to you, so you will probably not have a hard time deciding!
2. Then as your helper applies the plaster to your face, you enter a trance state (if desired, your helper can assist with that part, too) where you meet and interact with that God/dess. You have their energy and essence fill you for some time as the mask hardens on your face. The whole process for this step takes 20-30 minutes per mask.
3. When it is time for the mask to be removed, you sit up and blow the energy of the God/dess out of your body and into the mask, enlivening it and creating a link to that God/dess in the seemingly inanimate object. This will help you use the mask in devotional and ritual work with this particular God/dess. This mask is of my patroness, Lilith (as she is commonly called).
 |
| Cast of Lily's face |
Be warned- this is a messy project. Wear clothes you don't mind getting messy and know that a shower afterwards is a good idea, as you are using lotions and petroleum jelly and such to keep the plaster from sticking to your skin and ripping out your eyebrows. My partner has a full beard, so you can imagine how goopy his face was for this project!
4. Once the mask is set but not completely dry, trim the edges (it's easier while it is still slightly damp).
 |
Rowan finds a witchlet "hat"
at the craft store! |
5. After you let it dry completely, the embellishment begins! Remember what information was given to you in trace, visually and energetically, and try and make that come across in how you decorate the mask. 6. A shopping trip may be in order, as the items that you assembled beforehand may not seem as appropriate after the trance. I know that I saw things that I wanted to incorporate into my mask that I did not have on hand- so off we went, looking for items!
I picked up some things at an ordinary craft store (hot glue gun and sticks, lichens and moss, colored tissue paper, Outdoor Mod Podge adhesive), some things I already had (what can I say? I am crafty!), and some things at specialty stores (shark teeth, beetle wings). I have a huge vase filled with feathers that I have been collecting from all my bird friends over the years, so that helped with this project as well.
 |
| Candle lit for God Herself |
7. After the mask dried, I created sacred space for the embellishment process (which took and is taking several sessions- I am creating this mask for a camp that I am attending Labor Day weekend and it will be used both as an example for others to make their masks, and in ritual at camp.). I do all my sacred crafts in sacred space. It helps me enter trance so much easier. Often I just run with what I am getting in the moment and when I am done I am surprised at the results!
 |
| A beak added. |
First thing I did to my mask was to create a beak instead of a nose. I did this with clay that air dries, although you could use more plaster strips to do the same thing if you have an armature for support. Then I cut up some old jeans and created wing shapes to that I could embellish them with the feathers. Notice that I also taped the edges of the mask. This will be covered over in the final product.
 |
| First feather layer |
Then as the clay beak dried, I worked on the wings, which will be a back to the mask- like flaps that enclose my head completely.
I used regular Elmer's glue (thickly applied) on the first set of feathers, which were more downy and meant to be a general cover.
 |
The yellow of the beak is
also tissue paper |
After the beak was dry, it was time to cover the mask. Rather than paint, I opted for colored tissue paper and Outdoor formula Modge Podge (which has the advantage for collage artists of being both a glue and a finish!). I wanted all my mask materials to be natural (as Gods are forces of nature!)- so rather than acrylic paint, I used paper. The colors I picked were symbolic- my patroness calls herself "the Lady of Blood and Moonlight" - so I picked a red the color of exposed blood. For moonlight, I chose a special silver glitter made in Germany- which is not plastic but glass. It reflects and refracts light so much more intensely than plastic and is better for the environment. After this step was done, I found that the wings were dry and I could start again on the wings, adding the heavier feathers.
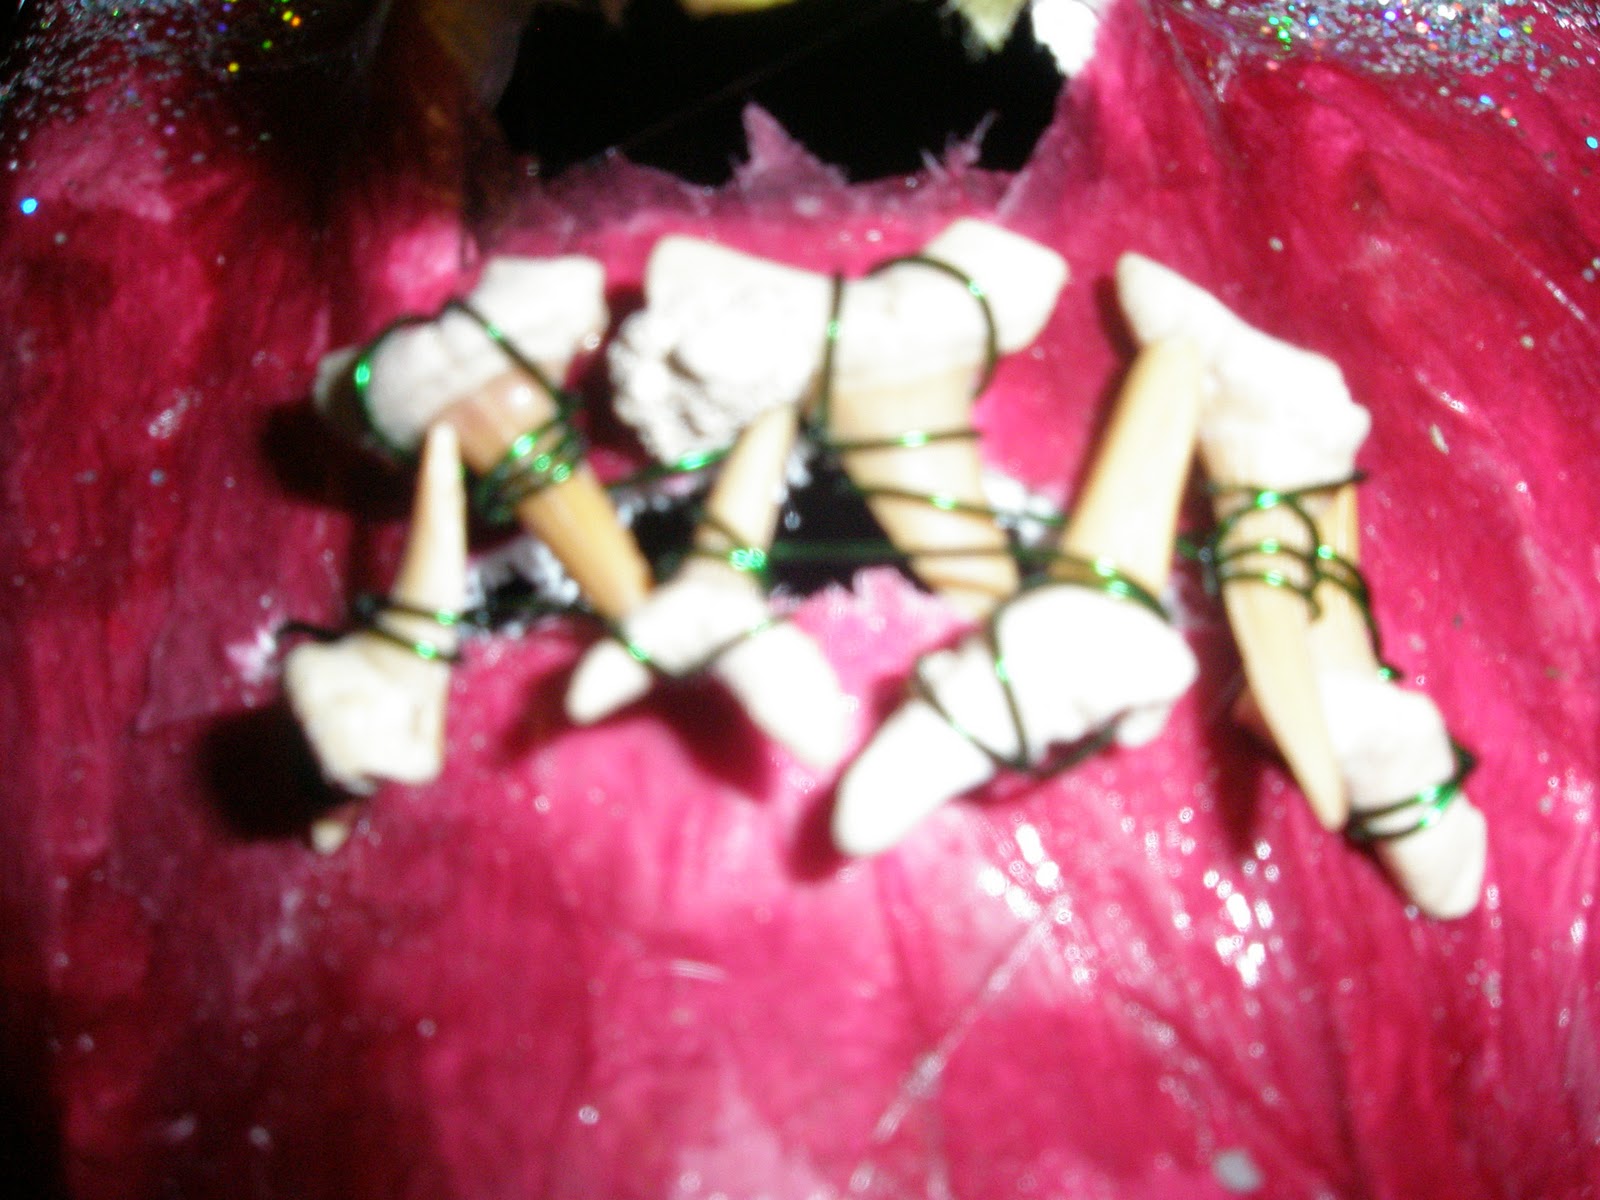
I used parrot feathers of all colors for this project as well as lichen and beetle wings on the forehead. For these steps, I used the hot glue gun and LOTS of glue. Then I was able to wire the shark's teeth into a mouth shape and attach them to the mask. Final pictures (for now) of the wings and mask:
 |
| multi-color wings |
 |
| almost finished! |
 |
| really bad orthodontia. |
Next steps (in a future blog post): finish the edges of the wings, attach them to the back of the mask, create an elastic strap to hold the mask in place, and wearing the mask! I'll talk about helping others make theirs and using mine in a ritual context.
Hope you had as much fun reading as I did making! Stay tuned for part two!