Showing posts with label sacred art. Show all posts

Saturday, May 7, 2011

Yantras!

Yantra of Green Tara.
So I had tea two weeks ago with my long-time friend Ekabhumi and caught up with him since he got back from India. He was there on a spiritual and artistic retreat (he is beginning to study Newari art, among other things). He is a student of tantra, a yoga teacher, and a fine artist and was able to combine these myriad loves into an awesome way of right livelihood: he is making sacred art for practitioners in his and related traditions.

These pieces of art, called yantras, are doorways. They are symbols of deities or planets or beings. They evoke their energy pattern- which most tantric practitioners will tell you is a more accurate representation than personified paintings or sculptures.

Each color, shape, quantity of shapes, and positioning of shapes means something specific, and the practitioner meditates on the image to learn more about or open themselves to that being or celestial body. There are yantras for planets and gods.

A blank gessoed yantra form.
Eka started making the yantras out of love and giving them to teachers and friends. People saw them, loved them, and now he is making them for a living! Now, he is swamped with good fortune (he started chanting to Lakshmi and wearing gold earrings last year- I bet that has something to do with it!), has more demand than time, and asked if I could help him. Heck yeah!

I used to make visual art myself, and Eka and I have been friends long enough that he knows this. So I showed up and was treated to some moving meditation, mindfulness, mantras, and craftyness- all in one task! First, he had me sand and gesso 12 or so blank forms. This is to prepare them for the design and custom painting.

While it sounds easy- just throw some white paint at them (!)-  it isn't. Making the yantras is an act of devotion. It is sacred art. And every step in their creation reflects this. When preparing the forms, you must be "clean" energetically and keep your mind still. As I sanded and gessoed several layers onto each form, I stayed present and did not allow my mind to wander to the umpteen million things I have to do, or thinking of my son, or writing my next blog post in my head. It was lovely to have this time to myself, actually. I have been looking for a new way to have a mindfulness practice- and I think that I have found it!

Our combined handiwork!
A work in progress.
In between layers of gesso drying, Eka had me start work on a Moon yantra. (It was Monday, after all- what could be more appropriate?) He has the traditional colors of each yantra tacked up on the wall, along with corresponding mantras for each yantra being made. As I painted gold outlines, I chanted, "Om Shrim Som Somaya Namah" over and over, which is a sanskrit mantra to the Moon.

The effect was interesting. I do not know Sanskrit, but I felt an energetic "latch" when chanting this phrase. Before starting the chant, I thought of the moon and its phases, I pictured the moon, and I tried to feel what it is like standing outside under a full moon. That was fine. but when I chanted the mantra, something "clicked". I cannot fully explain it, as the tradition is not mine. But my hand steadied, and I felt like I was being lightly ridden and guided. Neat!

On my second round of work yesterday, I sanded and gessoed again (ah, the blessed luxury of empty mind), and then worked again on the moon yantra. This time, I added texture with a hammer and small tool that made small round impressions when I hammered it into the wood. I created a pattern, somewhat like a Chinese checker board inside the points of the 6 pointed star. Once he paints over it with metallics, it will look stunning and rich with texture.

Have you ever made sacred art?

Sunday, September 12, 2010

Tangible Witchcraft: Devotional Mask Making (Part Two)

Ishtar is coming together.
If you are just joining us, this is part two of this blog post. In part one, I go through most of the beginning steps on how to make a devotional mask and the hows and whys of my particular mask (of Lilith). I learned this craft so that I could then help others make theirs at the F(a)eri(e) Magic(k) Gathering, which I helped to organize this Labor Day weekend. (see related posts about that!)

Jared is making a jawless mask.
So after creating the outside of the mask and the wings, what was left? Well, for starters, I needed to attach the heavy wings somehow, and be sure that they created a veil that went all the way around my head (I wanted to be completely enclosed by Her energy in the mask). I also wanted to do some work on the inside of the mask- for the benefit of the wearer.

California Mugwort
So I started by taking some wildcrafted mugwort and steeping a strong infusion of it to paint on the inside of the mask. Mugwort is a strong plant ally in trance and dreaming work. Mugwort, also known as Motherwort, is sacred to moon goddesses (it is an emmenagogue, after all), and what is the moon but Lilith's Lantern?

Melisseus is painting his.
After that tea dried, I could embellish the inside of the mask as well. I blackened the inside so that I removed all distractions keeping me from engaging in the mask's purpose. Then I added the sigil that She gave me (it is on her sacred objects that I have made for Her before) to the forehead of the mask, on the inside, so that it covers my "third eye" when I wear the mask.


Three mask makers start the
embellishment process
Then I attached the wings with leather cord (I created 4 holes with an exacto knife in each wing, then laced them so make the stress point of attachment more diffuse, then attached each wing at two parts of the mask, tying the leather lace inside. I then reinforced the knot with some hot glue.

Then I needed to attach a cord to make the mask stay on, hands-free. I used a jacket cord (you know, the kind with a plastic slider on it?) instead of an elastic band. This is so my mask can get years of use without having to replace stretched out cord.

My mask is not yet complete in the pictures below, as the veil has not been attached and the wing edges were not covered - but this gives you an idea of the effect. Finally, after trying out the mask, Lilith told me that she wanted eye holes, as she wanted to move while talking and be able to approach people of her choosing. So I created some.

Just the right amount of fright
A profile look.
We used the masks in ritual that night, invoking who we worked with into the circle. I plan on using my mask in a more quiet way, as an aid in oracular work and to sit with Her in quiet moments, mainly.

Monday, September 6, 2010

Tangible Witchcraft: Devotional Mask Making (Part One)

My lovely friend elfin (who edits and writes for this blog) came over the other day to make devotional masks with us. What is a devotional mask, you ask? It is a mask that is made of and with a specific deity for the purpose of communing with them, gaining information from them, and working with them further. It can be used in a ritual context, an oracular context, or even in a trance when you are alone (with the deity). My mask is for oracular and communal work mainly, so no eye holes are needed, just nose and mouth.

The way that the process works is deceptively simple (although the materials are specific and you need assistance- you cannot do this work alone!):

1. You create a plaster mask base using quick drying plaster strips (the brand we used is called Rigid Wrap) on your own face. The book that we used to help with the nuts and bolts process was this one (to the left!). The book simplifies the process and materials needed so that you can concentrate on the trance work and embellishment part of the mask making process. I liked that a whole lot (as this is a craft project with a sacred purpose)!

You need to pick a specific deity with which you want to work and of which you want to make a mask. Often, they come to you, so you will probably not have a hard time deciding!

2. Then as your helper applies the plaster to your face, you enter a trance state (if desired, your helper can assist with that part, too) where you meet and interact with that God/dess. You have their energy and essence fill you for some time as the mask hardens on your face. The whole process for this step takes 20-30 minutes per mask.

3. When it is time for the mask to be removed, you sit up and blow the energy of the God/dess out of your body and into the mask, enlivening it and creating a link to that God/dess in the seemingly inanimate object. This will help you use the mask in devotional and ritual work with this particular God/dess. This mask is of my patroness, Lilith (as she is commonly called).

Cast of Lily's face
Be warned- this is a messy project. Wear clothes you don't mind getting messy and know that a shower afterwards is a good idea, as you are using lotions and petroleum jelly and such to keep the plaster from sticking to your skin and ripping out your eyebrows. My partner has a full beard, so you can imagine how goopy his face was for this project!

4. Once the mask is set but not completely dry, trim the edges (it's easier while it is still slightly damp).

Rowan finds a witchlet "hat"
at the craft store!
5. After you let it dry completely, the embellishment begins! Remember what information was given to you in trace, visually and energetically, and try and make that come across in how you decorate the mask. 6. A shopping trip may be in order, as the items that you assembled beforehand may not seem as appropriate after the trance. I know that I saw things that I wanted to incorporate into my mask that I did not have on hand- so off we went, looking for items!

I picked up some things at an ordinary craft store (hot glue gun and sticks, lichens and moss, colored tissue paper, Outdoor Mod Podge adhesive), some things I already had (what can I say? I am crafty!), and some things at specialty stores (shark teeth, beetle wings). I have a huge vase filled with feathers that I have been collecting from all my bird friends over the years, so that helped with this project as well.

Candle lit for God Herself
7. After the mask dried, I created sacred space for the embellishment process (which took and is taking several sessions- I am creating this mask for a camp that I am attending Labor Day weekend and it will be used both as an example for others to make their masks, and in ritual at camp.). I do all my sacred crafts in sacred space. It helps me enter trance so much easier. Often I just run with what I am getting in the moment and when I am done I am surprised at the results!

A beak added.
First thing I did to my mask was to create a beak instead of a nose. I did this with clay that air dries, although you could use more plaster strips to do the same thing if you have an armature for support. Then I  cut up some old jeans and created wing shapes to that I could embellish them with the feathers. Notice that I also taped the edges of the mask. This will be covered over in the final product.

First feather layer
Then as the clay beak dried, I worked on the wings, which will be a back to the mask- like flaps that enclose my head completely.

I used regular Elmer's glue (thickly applied) on the first set of feathers, which were more downy and meant to be a general cover.

The yellow of the beak is
also tissue paper
After the beak was dry, it was time to cover the mask. Rather than paint, I opted for colored tissue paper and Outdoor formula Modge Podge (which has the advantage for collage artists of being both a glue and a finish!). I wanted all my mask materials to be natural (as Gods are forces of nature!)- so rather than acrylic paint, I used paper. The colors I picked were symbolic- my patroness calls herself "the Lady of Blood and Moonlight" - so I picked a red the color of exposed blood. For moonlight, I chose a special silver glitter made in Germany- which is not plastic but glass. It reflects and refracts light so much more intensely than plastic and is better for the environment. After this step was done, I found that the wings were dry and I could start again on the wings, adding the heavier feathers.

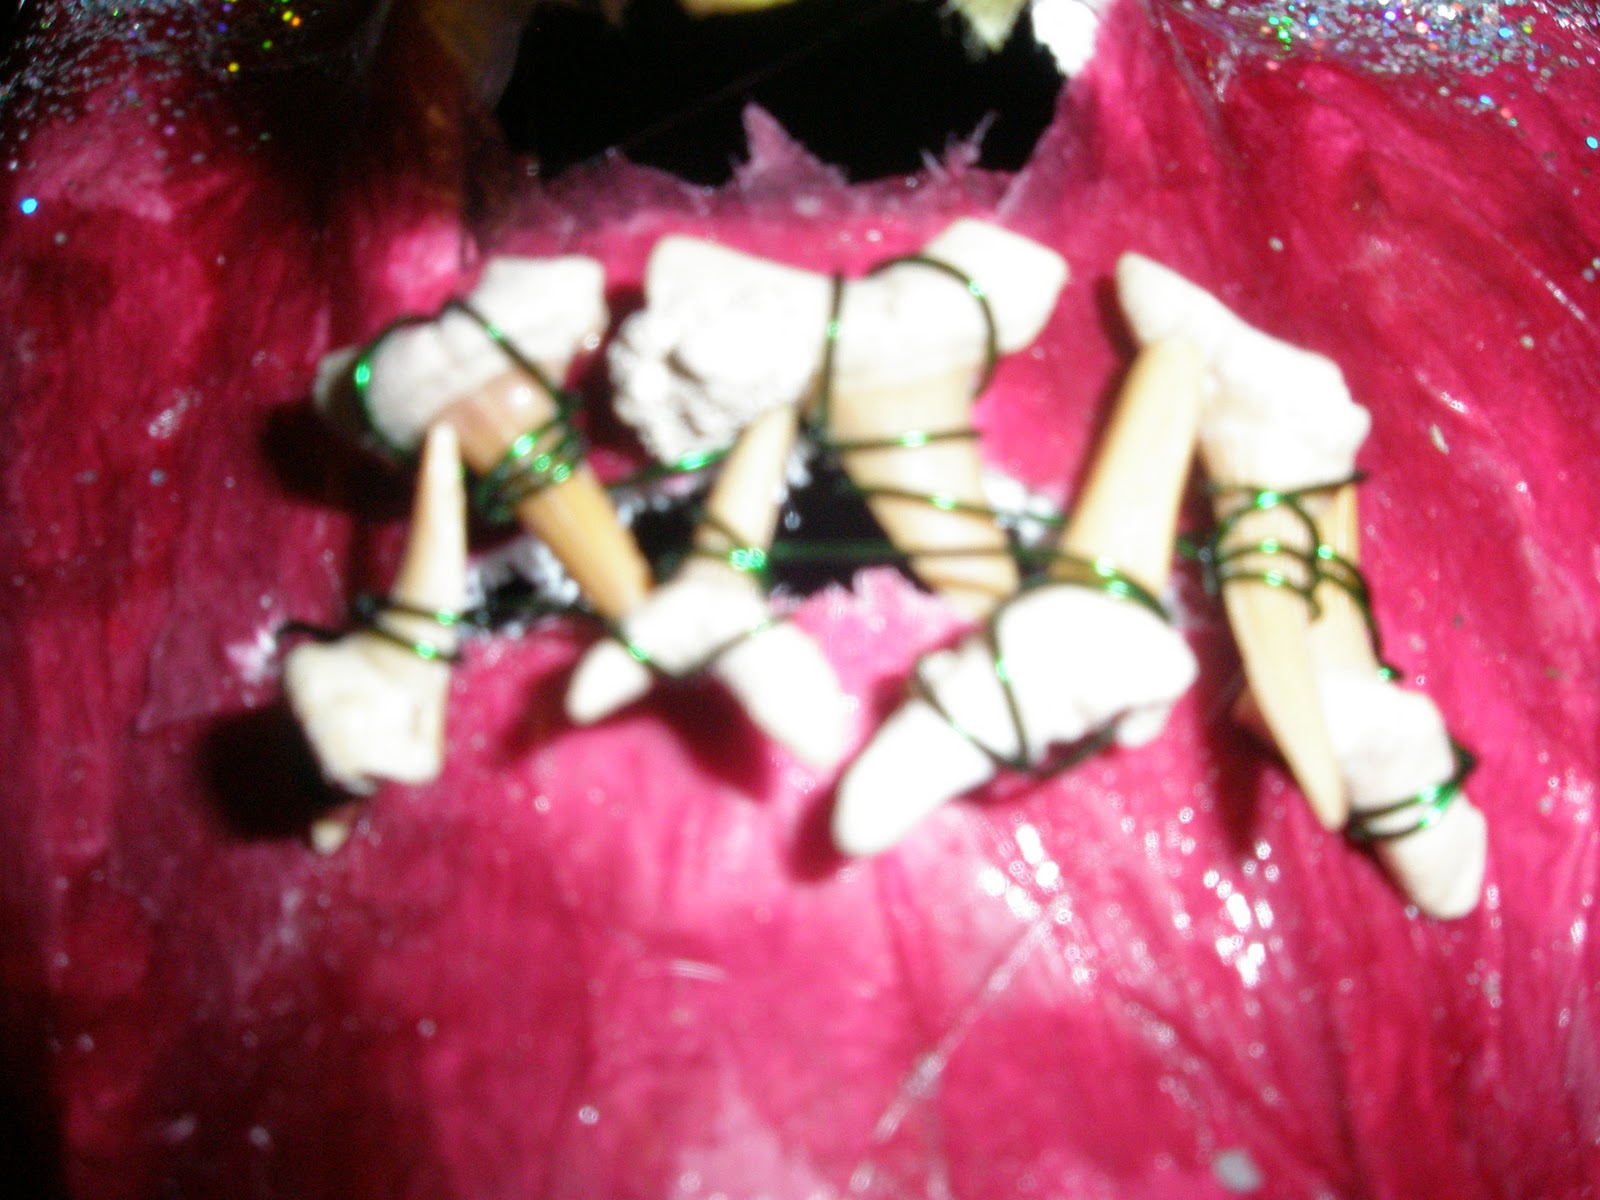
I used parrot feathers of all colors for this project as well as lichen and beetle wings on the forehead. For these steps, I used the hot glue gun and LOTS of glue. Then I was able to wire the shark's teeth into a mouth shape and attach them to the mask. Final pictures (for now) of the wings and mask:
multi-color wings
almost finished!
really bad orthodontia.
Next steps (in a future blog post): finish the edges of the wings, attach them to the back of the mask, create an elastic strap to hold the mask in place, and wearing the mask! I'll talk about helping others make theirs and using mine in a ritual context.

Hope you had as much fun reading as I did making! Stay tuned for part two!