 |
| The assembled ingredients. |
Dia de los Muertos is a ritual/holiday that celebrated the lives of those who have died which is Aztec in origin. The Spanish invaders of Mexico tried to eliminate this this month-long pagan holiday with no success; so Dia de los Muertos was eventually merged with the Catholic All-Saints day and All-Souls day on November 1 and 2 in an effort to make the holiday more Christian, like so many other pagan rituals have been. Today, many devout Catholics build ofrendas and make sugar skulls, as well as pagan folks like myself.
 |
| This is what meringue powder looks like! |
Traditionally, smaller skulls are placed on the
ofrenda on November 1st to represent the children who have deceased. On November 2, they are replaced by larger, more ornate skulls which represent the adults. These decorative skulls have the name of the deceased on the forehead and are decorated with stripes, dots and swirls of icing to enhance the features of the skulls. These designs are usually whimsical and brightly colored, not morbid or scary. Feathers, beads or colored foils are "glued" on with the icing to create highly ornate skulls.
 |
| A texture like wet beach sand. |
Mexican sugar art dates back to the 17th century, when Italian missionaries visited the "New World". Mexicans during that time period had very little money and learned from the Catholic friars how to make decorations out of an ingredient they had plenty of: sugar. Molds were then made of clay and the sugar decorations were used to adorn the church as well as ofrendas and gravestones. For the Dia de los Muertos celebrations, the sugar was pressed into sugar skulls and each sugar skull represented an individual and their name was often inscribed on the forehead of the skull.
 |
| Fronts and backs of the large skulls. |
I make sugar skulls every year as part of my Samhain rituals. Some of these skulls end up on my beloved or mighty dead altars, others come with me to our
Pan-Feri Samhain ritual. This year, I helped create seven sugar skulls for my traditions' mighty dead: Victor and Cora Anderson, Gwydion Pendderwen, Gabriel Carrillo, Jim Gillette, Raven Mab Cerridwen, and Alison Harlow. I also made smaller skulls for our beloved dead table, where we will have a dumb supper as part of our Samhain ritual.
 |
| A whole lotta dead people. |
Making sugar skulls takes time, but is not hard to do! The first step is making the sugar mixture and pressing it into molds. The mixture is only three ingredients: white sugar, meringue powder, and water. You must use all three. The ratio you need to use is also simple: 1 teaspoon of meringue powder and 1 teaspoon of water for every cup of sugar! The mixture will not be super wet, more like the texture of wet sand at the beach when it is ready- just wet enough to go into the molds, but not gloopy! You can get molds
here.
 |
Front and back, glued together
with royal icing. |
Once you firmly pack the mold, invert it QUICKLY onto a surface that you will be leaving alone for a while, since you need to leave them alone to dry out for a couple days. If you mess up and a skull gets destroyed at this step in the process, no big deal- just pick up the sugar mixture and repack into the mold and try again.
Once you have let the skulls dry for a couple days, it is time for the fun part! Decorating sugar skulls can be done a couple of ways: when I do it alone, I prefer to focus on only a few skulls, and go into a trance state to commune with the person that the skull represents. You can surround yourself with mementos of that person, play their favorite music, or simply chant their name. This year, I did method #2: I invited a few people over to decorate the skulls with me- so it was a social event!
 |
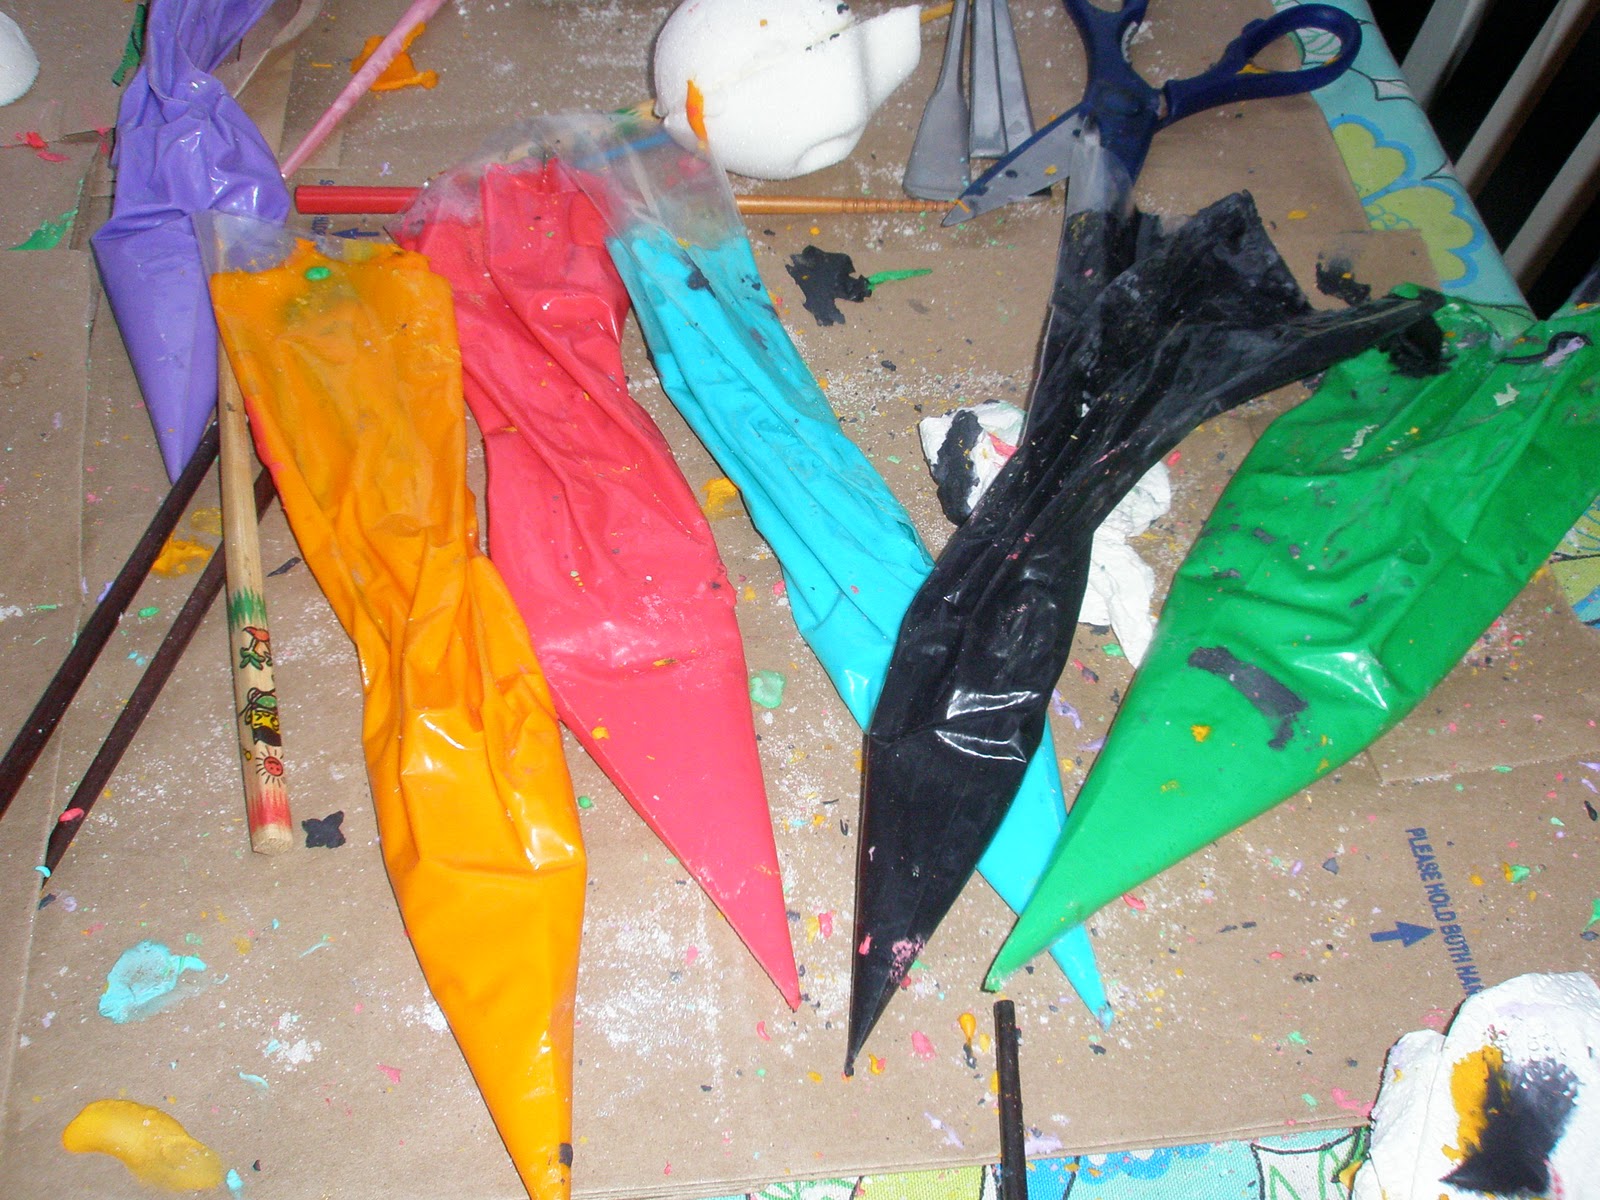
Disposable piping bags
of royal icing. |
When you are ready to decorate, you will need royal icing- also a simple recipe: 1 pound of powdered sugar, 1/4 cup meringue powder, 1/3 cup water. This stuff dries to a hard cement, so take precautions in your workspace and with your clothes! Once you have icing, you will want bright colors. DO NOT use the food coloring you get at the supermarket. Get professional gel colors that cake decorators use. (You can get them from the
same link that has the molds.)
You can also add foils, glitter, stones and other things to inset in a glob of icing, and feathers to decorate your skulls. The only limit is your imagination!
I'll share some pics later of the skulls on our dead altars at Samhain. but for now, here's a few of the finished ones:


OMGs they are so AWESOME!!! Thanks for the step by step. I may try this at home! xox, Nightshade
ReplyDelete